**Please note: My artwork offerings have been revamped! I’m excited to share the updated versions & details with you during your consultation and ordering session.
Thank you for sticking with us and giving yourselves, your children, and your grandchildren beautiful photos to remember these moments!
Hello!
It is so crazy to think that #the100dayproject is over! For 100 days, creatives all over the world committed to engaging in some kind of art or creating each day. This was my third year participating in the project, and if you missed my posts, you can still see them on my Instagram page (#100daysofLightCreative), Facebook page, or Twitter! You can also search #the100dayproject to see what other people created – there are some seriously talented people out there. About halfway through the project, I started getting a little weary as it felt like it was dragging on. I picked up some momentum after that though, and I’m proud to say I didn’t miss a single day or ever get behind! I came close with a couple nearly-midnight posts… but they still happened. 😉 If you’re curious about my first two 100 day projects, you can search the hashtags #100daysofBeingBeloved and #100daysofSpeakingTruth. 100 days always feels daunting, both when I start the project and when I finish it, as I consider doing it again next year. I never regret it though. It stretches me, grows me, challenges me to create every day, pushes me to pay closer attention to beautiful things happening all around me… and I love the encouraging feedback I receive throughout the project!
Anyway, that wrapped up last week and now I’ve really got to start planning out some social media content, since posting consistently won’t come quite as naturally! 😉 Hello, small business ownership.
TODAY, I continue the photo art blog post series all about ways you can display your photos and see them every day! As you know, I am passionate about providing professionally-created photo products for people to enjoy in their homes, knowing we see photos in a different light when we can hold them in our hands. (A different light… literally and figuratively 😉 ba dum, tss…)
This post is all about –
Gallery Images
If I had more time, I would find a way to make that a GIF with sparkly stars around it or something, because I love gallery images SO MUCH. These are like your classic canvas options BUT not quite the same.
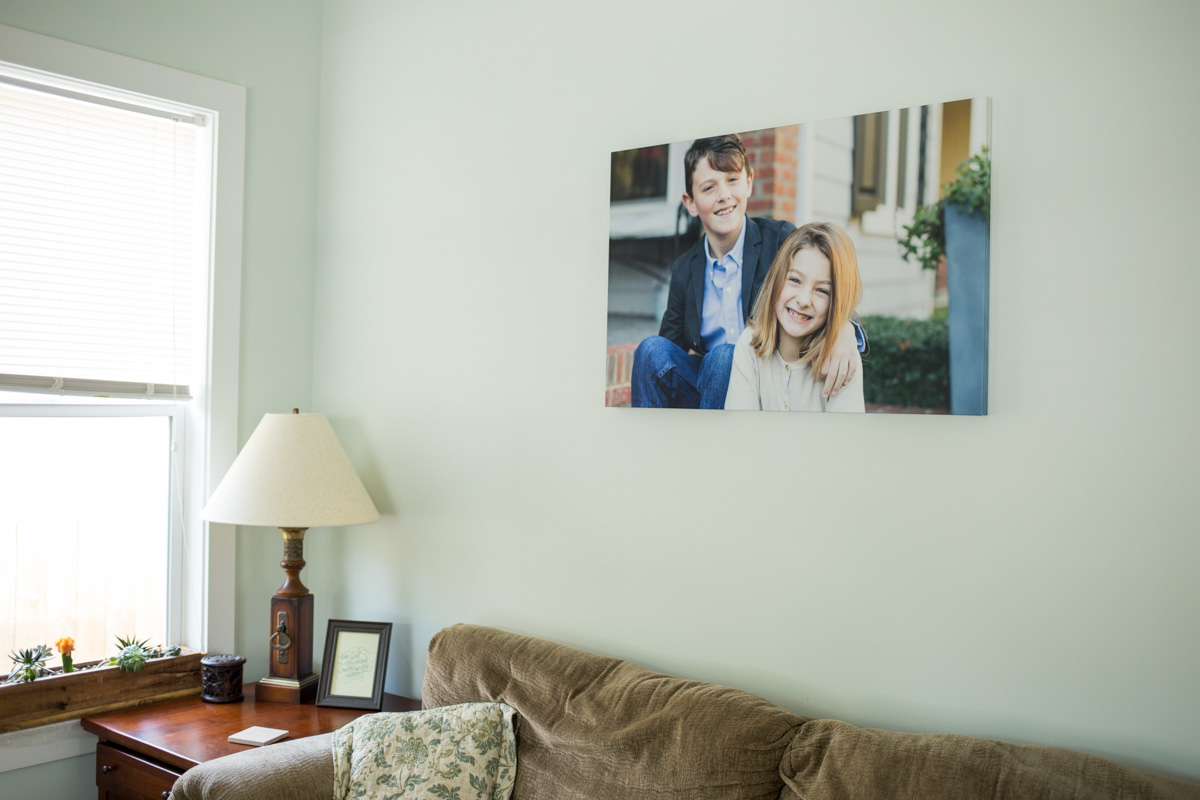
I offer gallery images instead of canvases for a few different reasons:
1. Gallery images are SMOOTH. While I love a good canvas, gallery images fit my style better because they have such a nice, smooth finish and clean edges. The smooth texture means that you can always see the details in the photos themselves, whereas bumpy canvas can distort the images when you look at them from an angle or close-up. Gallery images preserve more of the natural photo by laying it all out nice and flat and clean. They make me think of calm, glassy water without any ripples or waves.


2. The images still wrap around the sides! These feel like a natural alternative to canvas because they still have the image wrap-around feature. At weddings and sessions, I’m sure to back up with my camera and capture some wider-angle photos to ensure that we have plenty of space around the people in the photo (the most important part!) so we don’t lose anything in the sides of a gallery image.

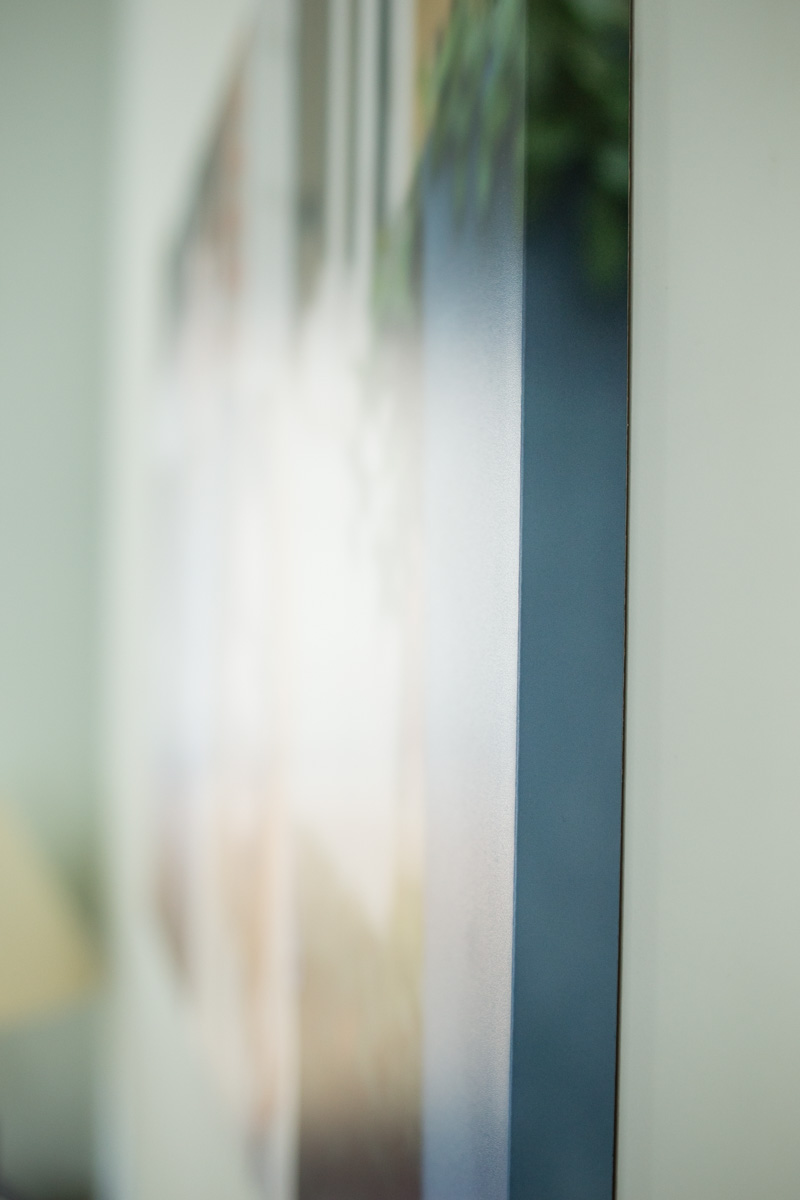
3. Gallery images are less expensive than canvases! Investing in professional photo art that lasts for years and years is just that – an investment – something you pay a decent amount for now in order to really reap the benefits later and appreciate what and WHO you have much more. I’m thankful to have the 11×14″ gallery image option among the lowest-priced pieces on my investment guide, because like I said, I love them! This is possible because the cost of creating it is significantly less than the cost of creating a canvas product. Works out well, huh?!
Gallery images are available in sizes 24×30″, 16×20″, and 11×14″. The one pictured here is 24×30″. They all have 1″ sides and a beautifully smooth lustre finish. The photos are applied to and wrapped around a wooden base/frame and come with easy-to-hang instructions – the frame sits on a wooden bar (included), so all you need to do is hang the bar (hardware recommendations included), then set the photo on top!
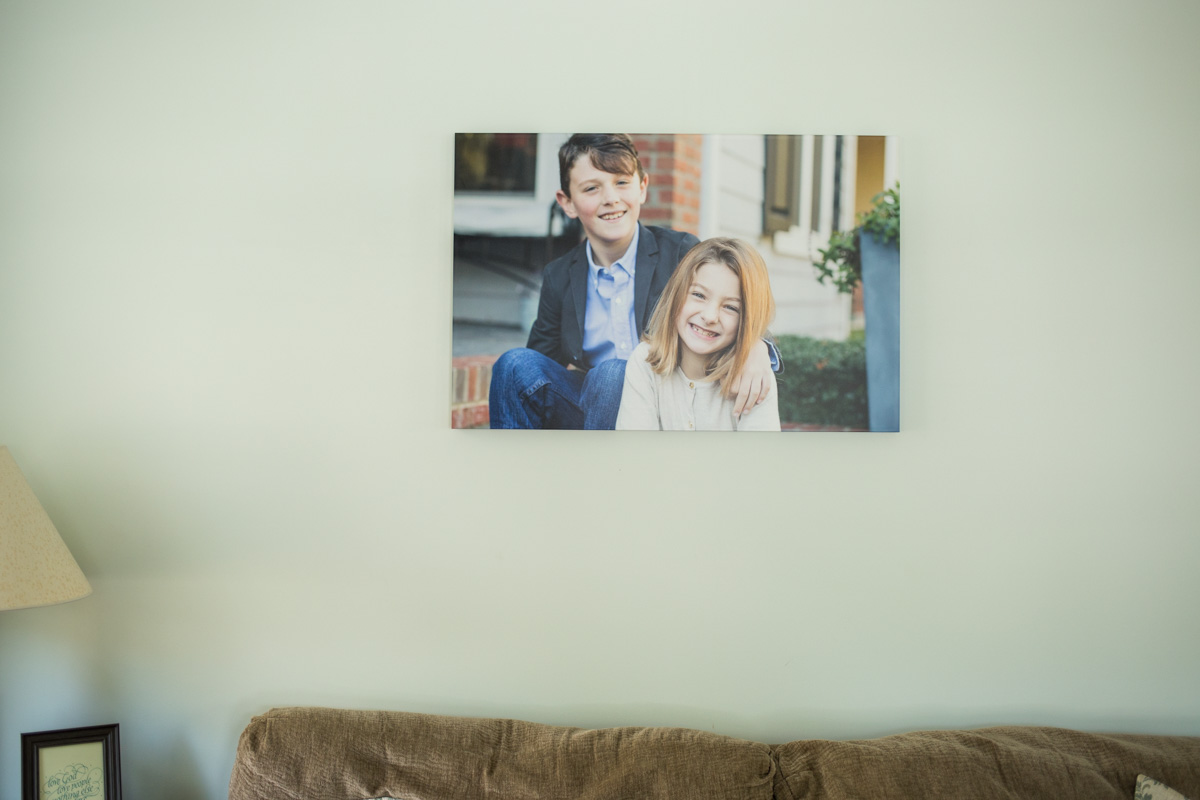
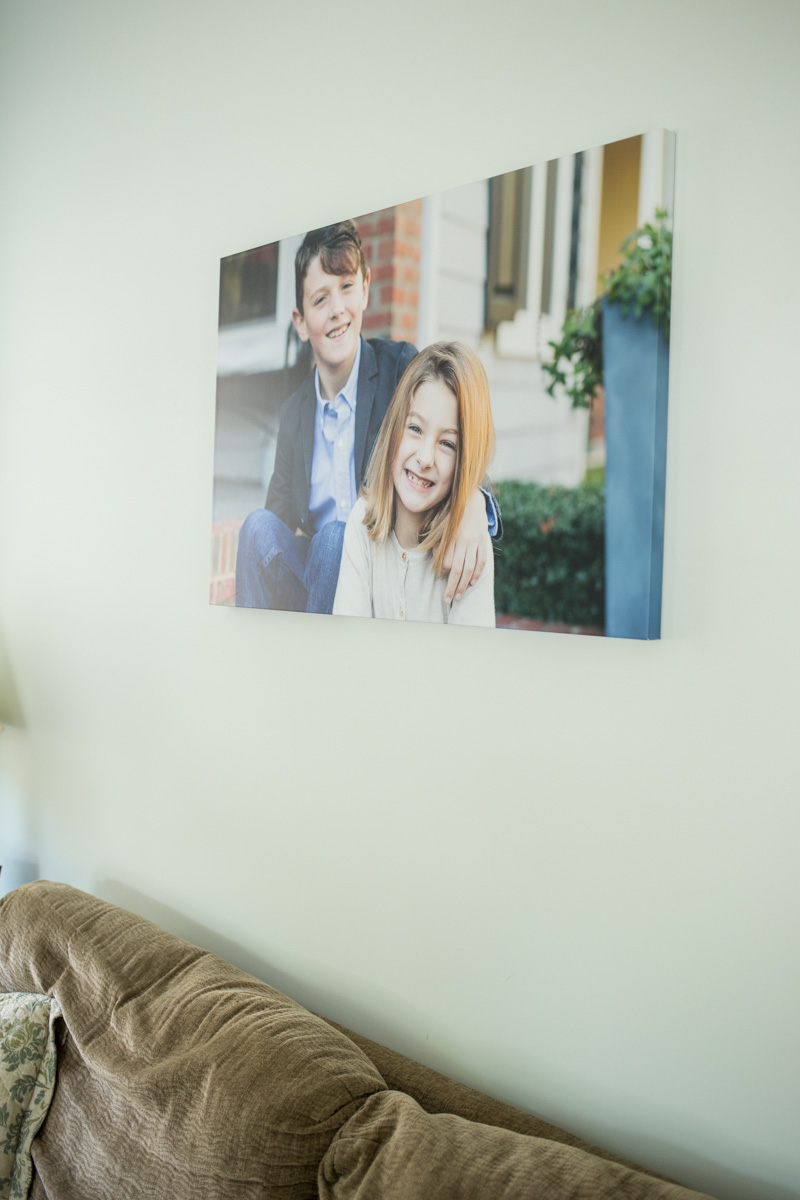
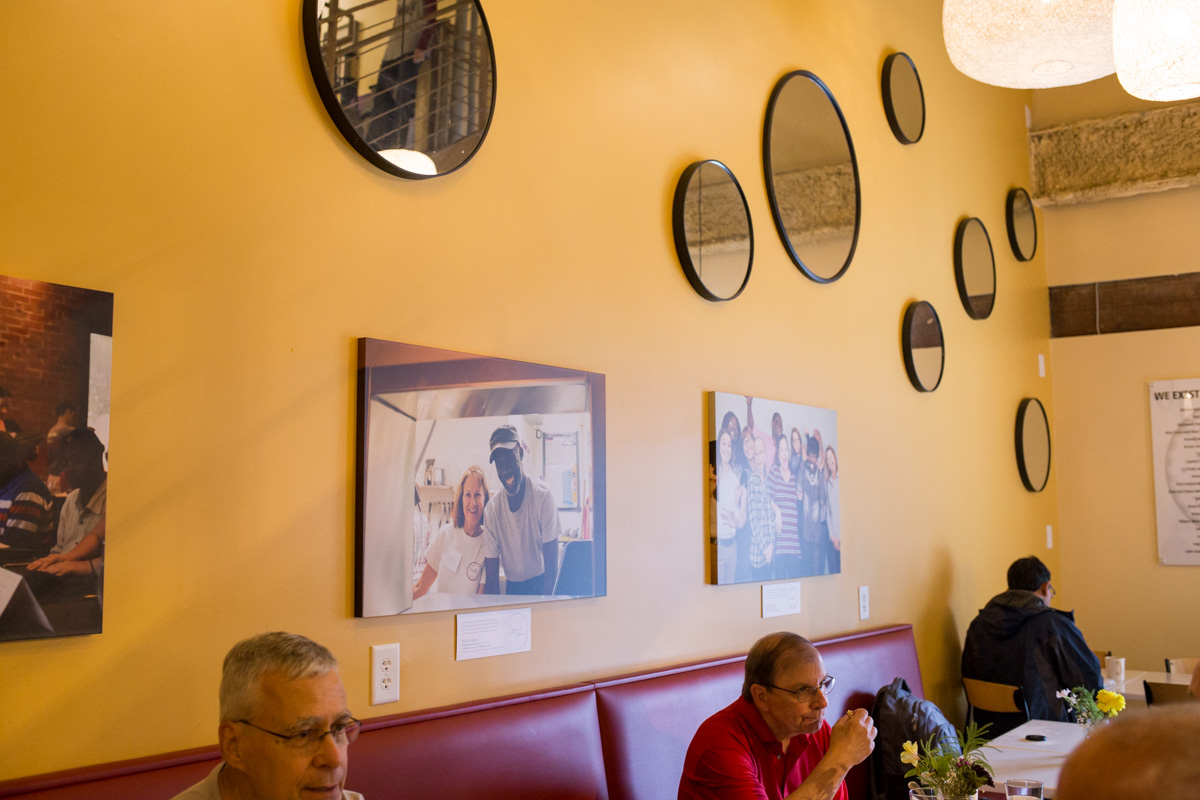
These are also the pieces of photo art that I have featured at A Place at the Table! They felt like the perfect type of photo art to share our images of community around the table because of the calm, joyful, clean-lines feel the pay-what-you-can restaurant has. People have asked their employees and volunteers, “Where can I get wall art like that??” Come on along to Light Creative; I’ve got you covered!
If you’re wondering, “Who are those great kids in the photos throughout the post?” That’s Eli & Mia, featured in one of my favorite photos from their session!
I’ve got an exciting couple weeks coming up in my personal life, heading out to the Outer Banks with my immediate family tomorrow, then out west for the first time ever mid-week next week! The preparation I’m doing now, though, means that the blog series won’t skip a beat, so stay tuned! Also be sure to follow me on social media if you haven’t yet, because there are some beautiful sights to be seen! (Links at the top of this blog post or bottom of this webpage)
I hope you’re also having a splendid summer! Let me know if you have questions about gallery images, photo art, or anything else – or if you just want to chat a bit! 🙂 ‘Til next time!